


Welcome to the ultimate PoliBuild guide – your passport to mastering the ins and outs of our game-changing system. Whether you're a nail whiz or just dipping your toes into the world of PoliBuild, be sure to see what our system can create!
STEP 1:

The key component to any nail enhancement is your PREP, everyone has their own way to prep nails this is how I do mine using an e file.
- Apply cuticle remover.
- Push back cuticles.
- Use hand scrub and ask my client to wash their hands to remove dead skin build up and cuticle remover.
- Trim cuticles (where needed – less is more)
- Lightly being the key word here, I lightly etch over the nail plate with a 240 grit-sanding band.
- Using a pad, I wipe over the nail with Pure Nails prep and scrub (dream product)
STEP 2:

When doing enhancements some may use tips or forms which both can be used with Poli, however I personally prefer tips. It is a personal preference on tips people use, I prefer to use a pre shaped coffin, clear tip.
(image 2) Ensuring the nail is dehydrated, (looking chalky), I measure my tip ensuring it fits snug down the side walls. I then apply a small amount of nail glue to the tip well and attach this as close to the tip of the nail as possible, the more nail plate you have the more product adhesion you will have.
(image 3) Allow the glue to dry then blend out the tip.
STEP 3:

Firstly, I wipe the nail and the tip using a pad and Pure Nails prep and scrub.
I then apply a THIN layer of base coat from Pure Nails, I personally use normal base coat, but you can use rubber base coat also.
This then needs to be baked in the lamp for 60 seconds.
STEP 4:

Pick up a bead using the spatula on a dual end brush.
(Image 5) From a tube of poli – squeeze out your desired amount on to the spatula.
(Image 6) From a pot of poli – scoop up your desired amount of poli.
The amount will depend on if you are doing a full coverage or an infill, do not worry you will get used to the right amount you will need after time.
STEP 5:

This is one of the most common things I get asked about as it can feel tricky, how ever just swipe onto the nail and pull away.
The placement is important, you want to place the bead in the middle of where the nail plate is, this way you have room to maneuver the product around where you need it to be without it touching your client’s skin.
The product is so stable that it will just sit there and will not move until you move it so let us discuss slip ratio next before moving the product.
STEP 6:

Unlike an acrylic system for example you do not mix a ratio of slip and poli together, what you are doing is dampening the dual brush just enough that it creates a barrier between the brush and the poli. I personally use prep and scrub as my slip.
(Image 8) Example one with picture eight is having too much slip on your brush, now this will do a number of damaging things, firstly getting on the client’s skin, it will also saturate the poli making it difficult to move around, resulting in messy cuticle zones and side walls.
(Image 9) Example two with picture nine shows you the correct ratio to use, therefore being able to move the product effectively, placing and sealing with crisp clean edges.
STEP 7: Now, let us set our PoliBuild!!!

Image 10 – firstly think of how to use your brush, use the body of the brush to push behind the product and manoeuvre it this way, if you stipple your brush into the product, you will be in a messy, sticky position.
Image 11 – set your cuticle zone first, pushing the poli into the cuticle zone, tapping gently until you are happy with the placement, ensuring the poli is not touching your client’s skin.
Image 12 – set your side walls one at a time, blend out using the body of your brush to manoeuvre the poli down the side wall, ensuring the poli is not touching your client’s skin.

Image 13 – begin to pull the body of the product down and towards the tip of the nail and keep working that down until you are happy with the coverage.
Image 14 – wet your dual end brush, and then hold it vertical against the tip of the nail and swipe away the excess Poli. Smooth down your edges and tip, and then bake for 60 seconds.
Step 5 – image 14 – wet your dual end brush, and then hold it vertical against the tip of the nail and swipe away the excess Poli. Smooth down your edges and tip, and then bake for 60 seconds.

All gel-based products have a sticky residue once coming out the lamp, this is normal, remove this by wiping over the nail with a pad and prep and scrub.
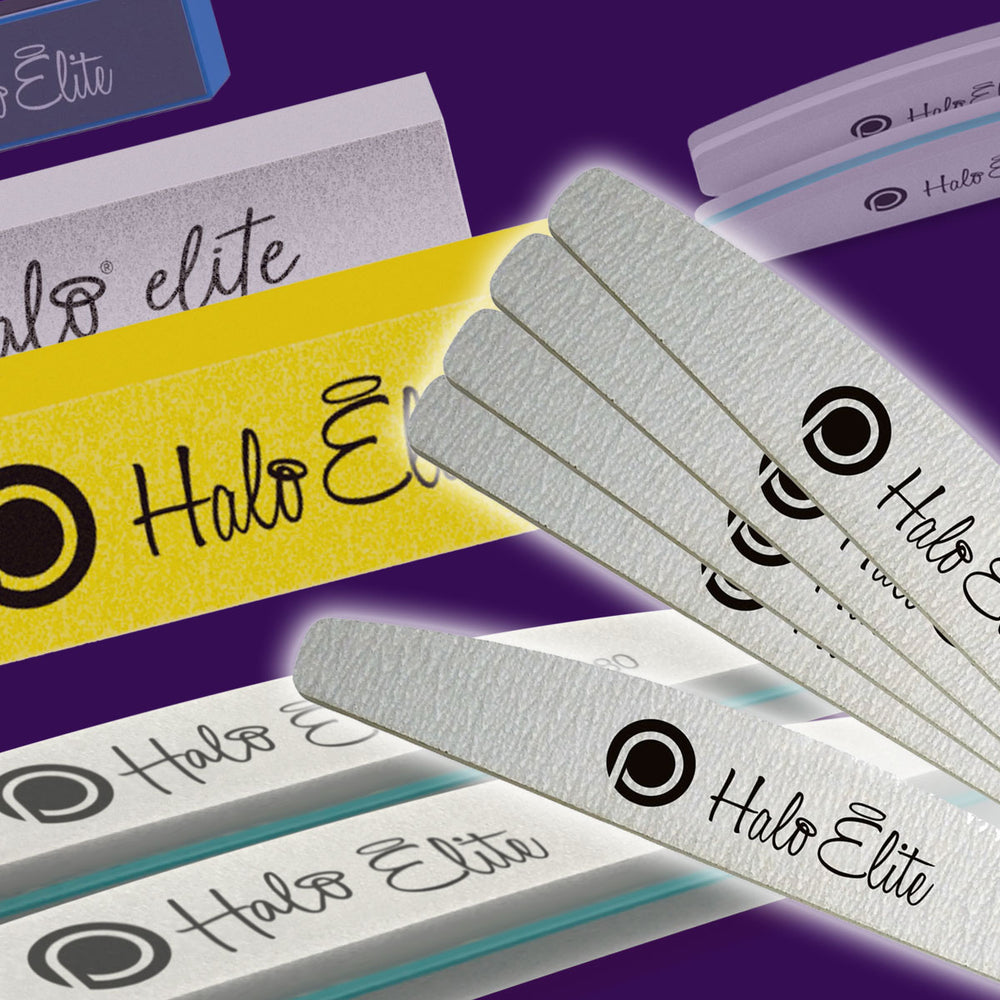
Image 15 – I sharpen my shape using Pure Nails 80/80 grit file this gives the poli a crisp edge, and poli files like butter.
Image 16 – I use an xf drill bit to crisp up the side walls and cuticle zone and smooth over the top of the poli.
Image 17 – I finish with a Pure Nails 180/180 grit file to make sure I have kept that crisp shape.

Image 18 – lastly, I buff over the nail with Pure Nails buffing block I look for that super smooth finish, I then ask my clients to wash their hands, to be sure there is no dust residue left on the nails.
Image 19 - You are left with beautiful fresh Poli nails, ready for a design or colour.
A BIG thank you to our VIP Leanne Mitchell, for creating this in-depth PoliBuild walkthrough! @LeanneMitchellBeauty
Pricing and products
(ALL PRICES) +VAT
Polibuild tubes 40g in cover pink £19.99
80/80 grit file pack of 5 £3.90
180/180 grit file pack of 5 £3.90
We’re always here to help. You can contact our support team with any questions, queries or worries at any time. We’ll always contact qualified professionals for the right answer. You can contact us here.
Email for technicians: Nailtechsupport@purenails.co.uk