

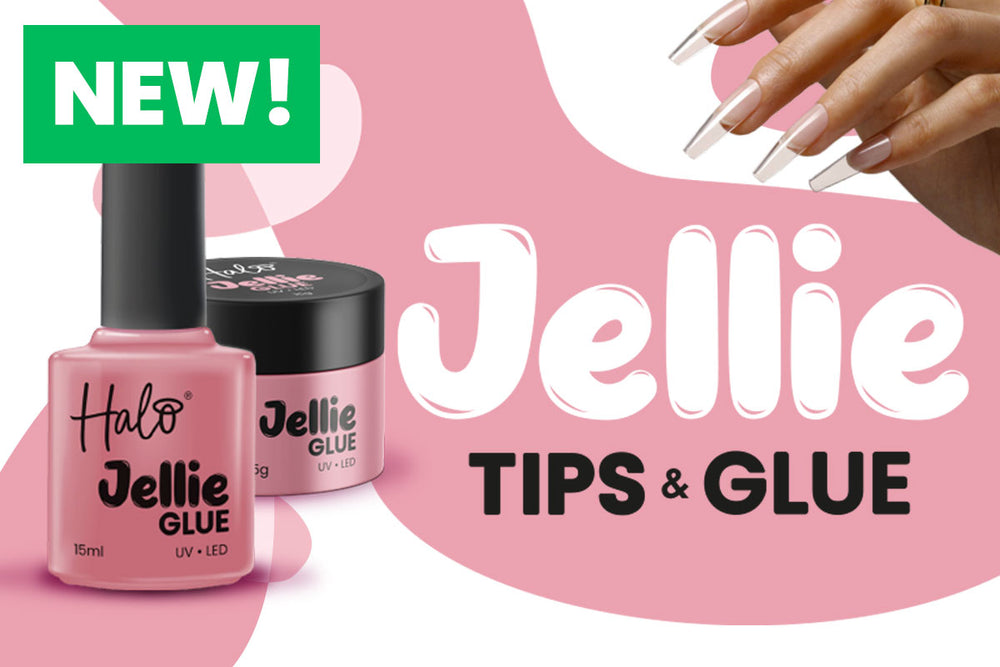


Just when you thought Jellie Tips couldn’t get any better, well, we have news for you! A little hack that we think is a GAME-CHANGER! What is it you ask? Well… Pre-designing your Jellie Tips! There are SO many reasons why this could be a great idea for you, so let’s get into why:
- You get bitten by the creativity bug; we’ve all been there! You have so many ideas for different sets but haven’t got a client that wants to give the design a whirl... But you still want to get creative! You can use Jellie Tips for this, design and prepare your own next set of nails!
- Maybe you want to start a lil’ side hustle and start selling stick-on nails? Jellie Tips are for you!
- Got a client that LOVES out-there designs, but they take a LONG time to create? Premeasure your clients’ nails and get creating! This can cut down treatment time and give you better results! Taking the pressure of time off of you for a little while!
- Perhaps you have a client that just wants nails for an event or weekend away? Jellie Tips here we come! The perfect fix, you can pre-design the set and give or apply to your client. Sorted!
How to pre-design Jellie Tips:
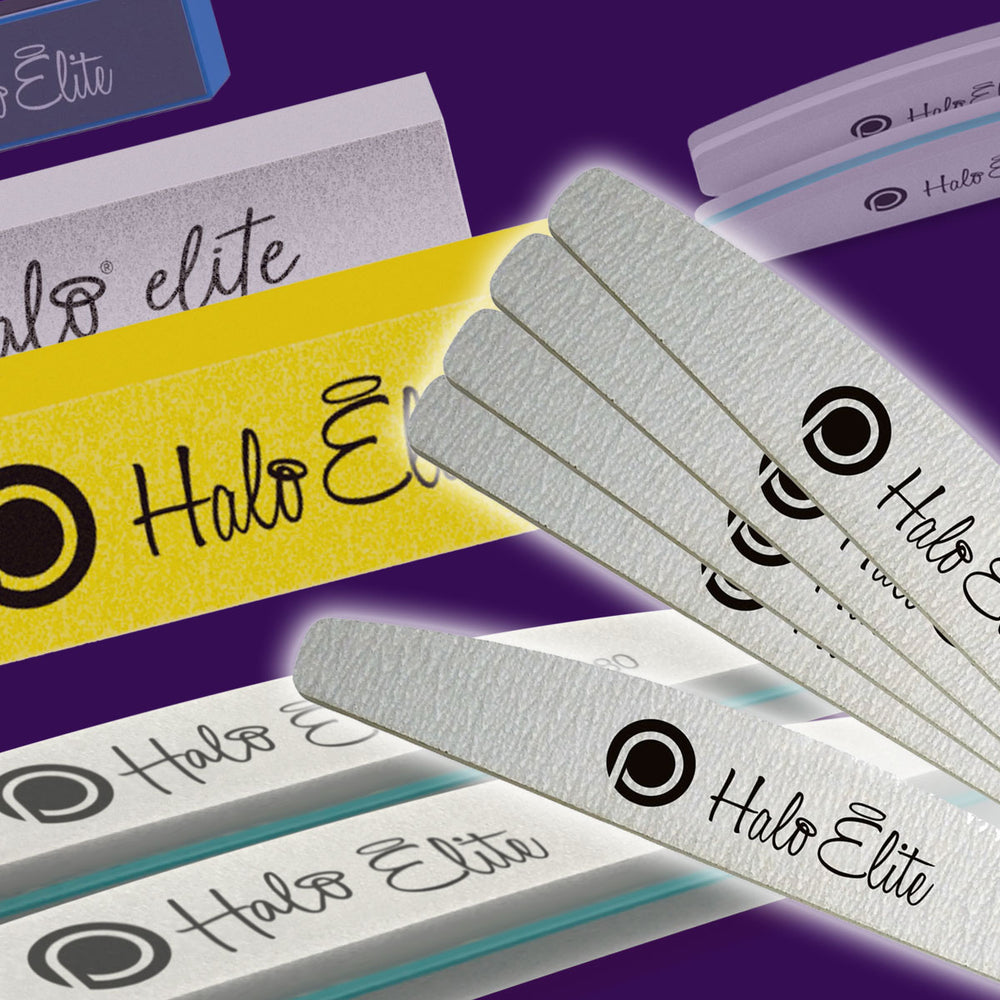
- Make sure you previously measure up your clients’ nails so the Jellie Tips fit seamlessly.
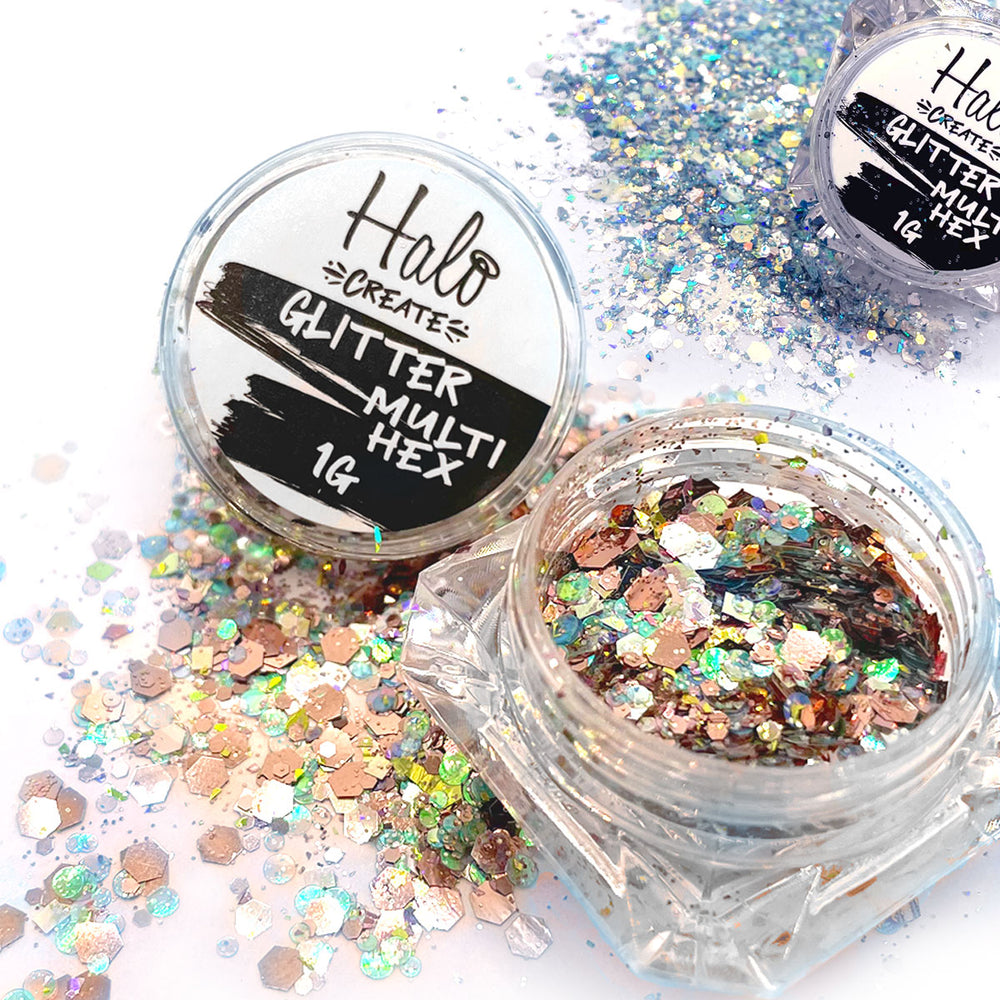
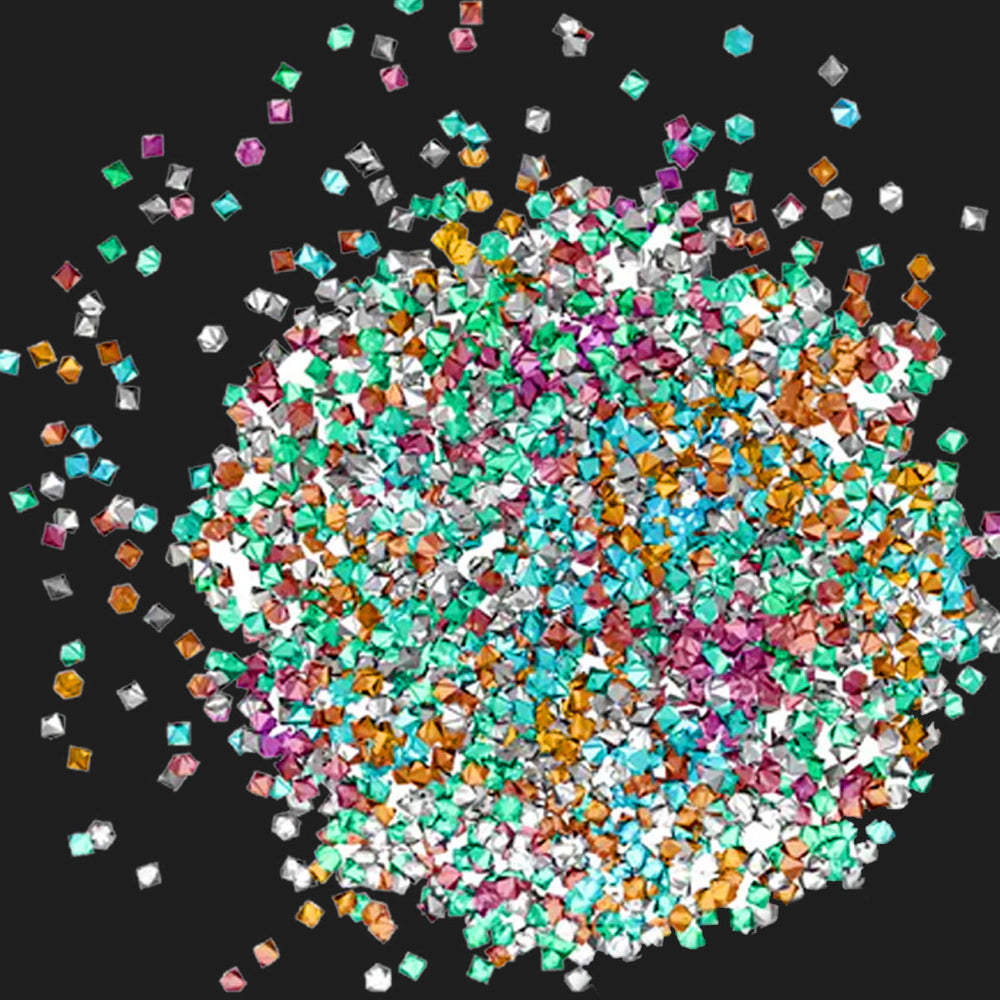
- It’s essential if you’re applying Jellie Tips to a client and not using them as stick-on’s that you use a sheer colour as a base. Our Parisienne Collection would be puuurfeccttt for this! Colours like: Elise, Anais and Mimi would make a great base colour! Or, if you fancied something a bit funkier, Hologram or a colour from the Candy Hearts Collection could add a little something extra to a pre-designed set!
Why do you need a sheer base?
We recommend using a sheer base colour for the purpose of ensuring that the Jellie Glue has cured correctly. If you use a full coverage base colour, you won't be able to be 100% sure that the glue has successfully cured. This could lead to: nails not lasting as long, lifting, reactions or damage to the natural nail! – and we definitely do not want any of those!
So how do I apply pre-designed Jellie Tips?
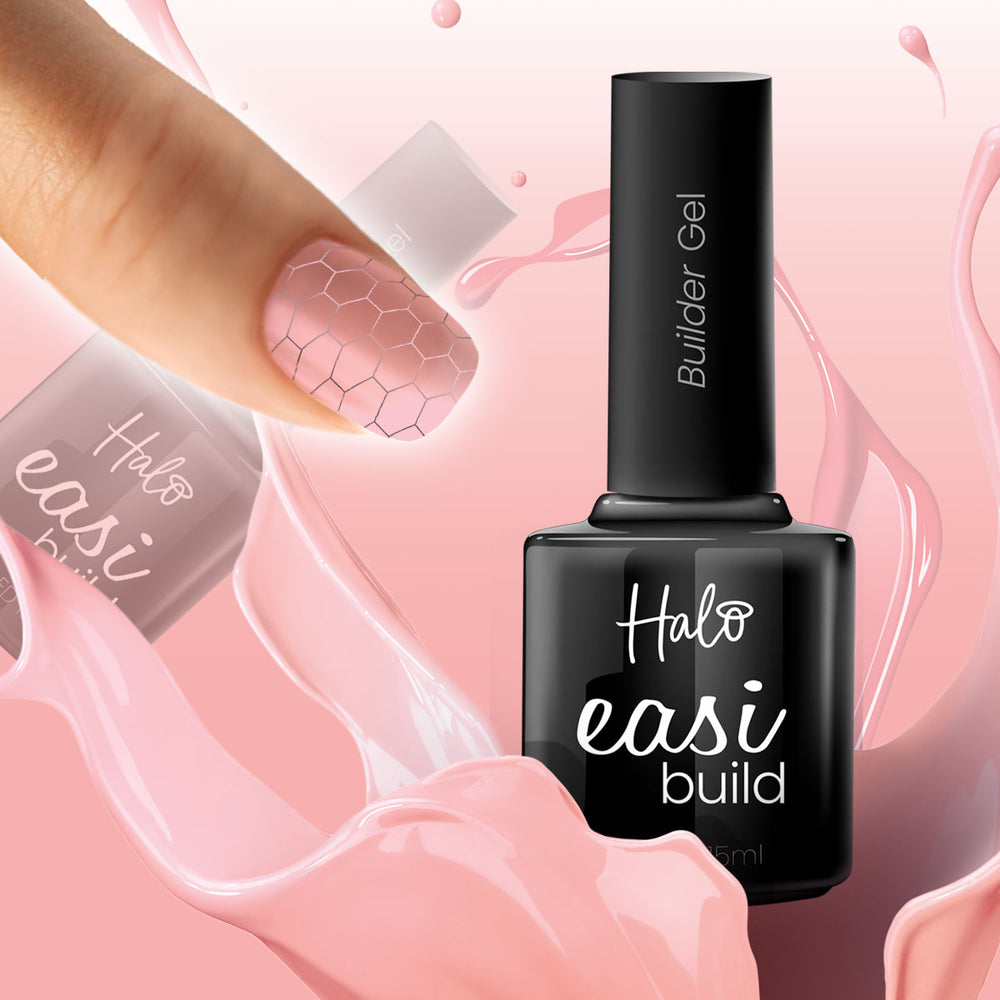
- When applying Jellie Tips, start by doing your normal prep work, then use your desired base coat, be it Rubber Base or Base Coat.
- Once you have cured your base, its time to apply your pre-designed Jellie Tips! Using your preferred Jellie Glue, apply the glue to the tip and stick the nail down at a 45-degree angle, making sure to push down and avoid any air bubbles.
- Do this for each finger, either curing in-between or curing at the end (depending on which glue you are using)
- All ready!
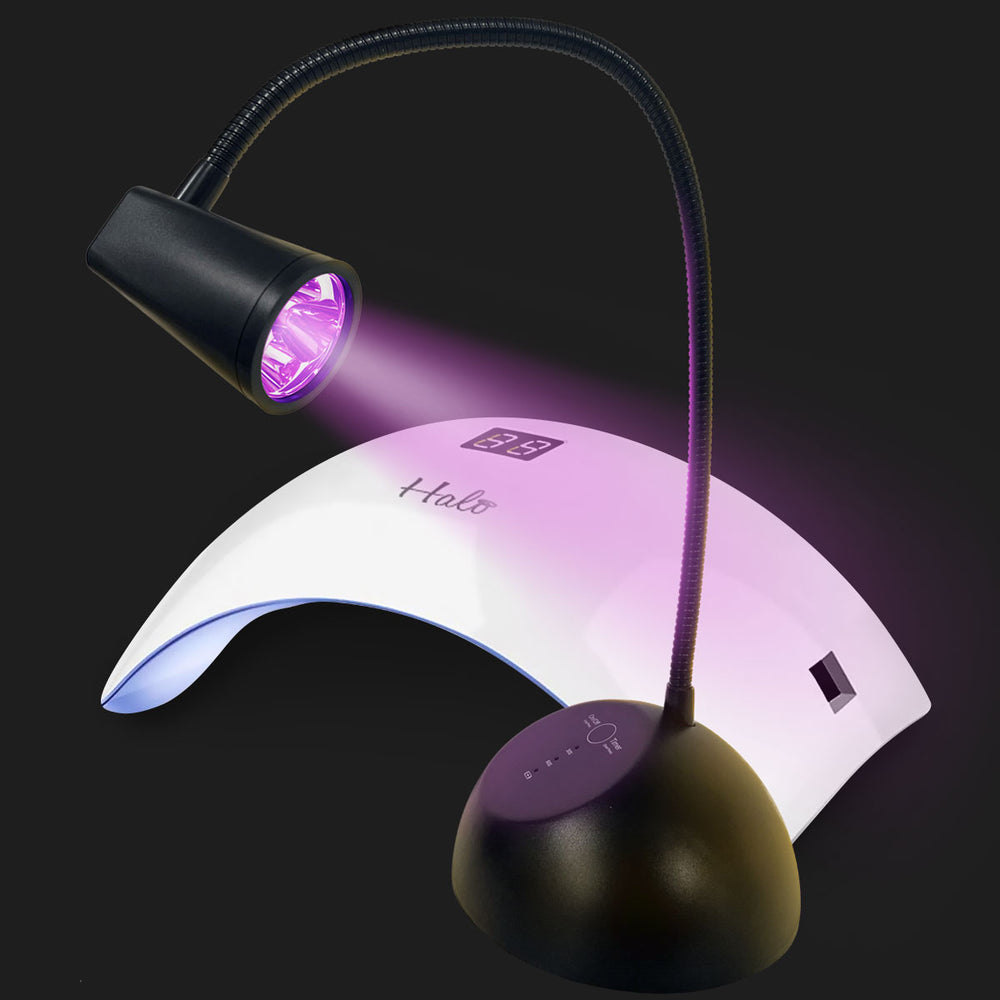
Which Lamp should I use for Jellie Tips?
You can cure your Jellie Tips with any of our curing lamps, however we recommend our Flash Cure Lamp. It was designed to work alongside Jellie Tips, giving you the best possible results!
Need some extra help with pre-desiging your jellie tips? Get in touch with our support team today! Just email, nailtechsupport@purenails.co.uk ! We can't wait to see all of your Pre-designed sets!